
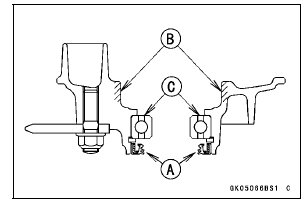
Apply high-temperature grease to the following.
Coupling Grease Seal Lips [A] Coupling Internal Surface [B] Ball Bearing [C]
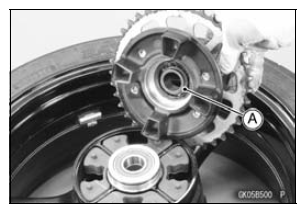
 Rear Sprocket Installation
 Coupling Bearing Removal
Headlight Beam
NOTE
Do not turn the bolts because the reflector
in the headlight comes off.
A. Bolts
The left and right adjusters on the
headlight can move the direction of
the headlight beam to up, down, left
and right by turning each adjuster itself
as the below table.
A. Left Adjuster
...
KIBS Hydraulic Unit Inspection
Remove the KIBS hydraulic unit (see KIBS Hydraulic Unit
Removal).
Visually inspect the connector terminals [A].
Replace the KIBS hydraulic unit or main harness if either
of the terminals are cracked, bent, or otherwise damaged.
If the KIBS hydraulic unit connector is clogged with mud
or ...
Air Cleaner Oil Draining
A drain hose is connected to the bottom of the air cleaner
to drain water or oil accumulated in the cleaner part.
Visually check the drain hose [A] if the water or oil accumulates.
If any water or oil accumulates in the hose, remove the
plug [B] from the drain hose and drain it.
...