
| WARNING Be sure to hold the front brake when removing the shock absorber, or the motorcycle may fall over. It could cause an accident and injury. |
Raise the rear wheel off the ground with the jack.
Special Tools - Jack: 57001-1238 Jack Attachment: 57001-1608
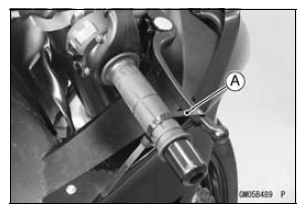
Remove: Lower Rear Shock Absorber Nut and Bolt [A]
 Spring Preload Adjustment
 Rear Shock Absorber Installation
Starter Relay Inspection
Remove the front seat (see Front Seat Removal in the
Frame chapter).
Remove the battery negative (–) cable from the battery
negative (–) terminal (see Battery Removal).
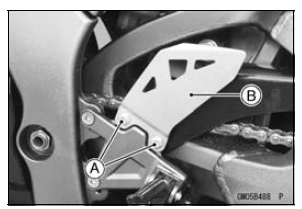
Take the starter relay [A] off the rear fender.
Remove the cover [B].
Remove:
Starter Motor Cable [A] ...
Front Fork
The front fork operation and oil leakage
should be checked in accordance
with the Periodic Maintenance Chart.
For various riding or load conditions
the front fork can be adjusted for:
Spring preload
Rebound damping force
Compression damping force
WARNINGImproper fork leg adju ...
CAN Communication Line
CAN Communication Line
Resistance Inspection
In this model, resistors for CAN communication line are
built in the ECU [A] and meter unit.
Refer to the Meter Unit Inspection in the Electrical System
chapter for the resistor in the meter unit.
Turn the ignition switch to OFF.
Remove:
EC ...