
Place a strip on each journal parallel to the camshaft installed in the correct position.
NOTE
Do not turn the camshaft when the plastigage is between the journal and camshaft cap.
Camshaft Journal/Camshaft Cap Clearance Standard: 0.038 ∼ 0.081 mm (0.0015 ∼ 0.0032 in.) Service Limit: 0.17 mm (0.0067 in.)
If any clearance exceeds the service limit, measure the diameter of each camshaft journal with a micrometer.
Camshaft Journal Diameter Standard: 23.940 ∼ 23.962 mm (0.9425 ∼ 0.9434 in.) Service Limit: 23.91 mm (0.9413 in.)
If the camshaft journal diameter is less than the service limit, replace the camshaft with a new one and measure the clearance again.
If the clearance still remains out of the service limit, replace the cylinder head unit.
 Camshaft Installation
 Camshaft Runout Inspection
For Primary Fuel Injectors
Remove the air cleaner housing (see Air Cleaner Housing
Removal).
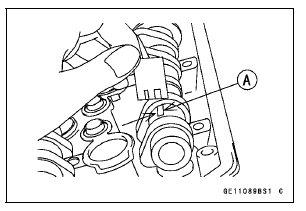
Disconnect the primary fuel injector connector [A].
Connect a digital meter to the terminals in each primary
fuel injector [A].
Measure the primary fuel injector resistance.
Primary Fuel Injector Resistance ...
Muffler Body Installation
Replace the muffler body gasket [A] with a new one.
Install the muffler body gasket to the premuffler chamber
[B] until it is bottomed so that the chamfer side faces premuffler
chamber.
Install the muffler body clamp [C] as shown in the figure.
Insert the projection [D] into the slot [ ...
Oil Pump Installation
Install the outer rotor [A] into the crankcase.
Assemble:
Oil (Water) Pump Shaft [B]
Pin [C]
Inner Rotor [D]
To prevent dropping, apply grease to the pin.
Install the inner rotor assembly into the crankcase.
Fit the slot [E] onto the projection [F].
Replace the O-ring [A ...