
 Torque Limiter
 Torque Limiter Installation
Wheel Alignment Inspection
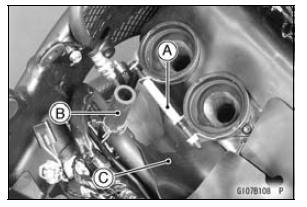
Check that the notch [A] on the alignment indicator [B]
aligns with the same swingarm mark or position [C] that
the other side alignment indicator notch aligns with.
If they do not, adjust the chain slack and align the wheel
alignment (see Drive Chain Slack Adjustment).
NOTE
Wheel align ...
Balancer Removal
Remove:
Engine (see Engine Removal in the Engine Removal/Installation
chapter)
Oil Pan (see Oil Pan Removal in the Engine Lubrication
System chapter)
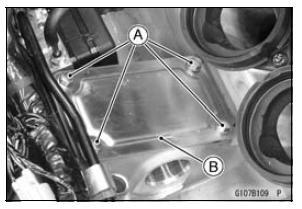
Remove:
Balancer Shaft Clamp Lever Bolt [A]
Balancer Shaft Clamp Bolt [B]
Balancer Shaft Clamp Lever [C]
Balancer Shaft [D]
Bal ...
Fuel Pump Operating Voltage Inspection
NOTE
Be sure the battery is fully charged.
Turn the ignition switch to OFF.
Remove:
Fuel Tank Bolts (see Fuel Tank Removal)
Fuel Tank Bracket Bolts (see Fuel Tank Removal)
Disconnect the fuel pump lead connector and connect the
harness adapter [A] between these connectors as shown
i ...