
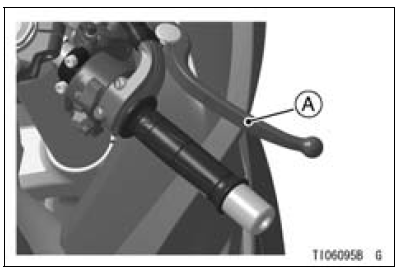
A. Front Brake Lever
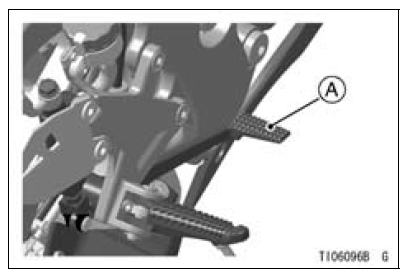
A. Rear Brake Pedal
 Shifting Gears
 Kawasaki Intelligent anti-lock Brake System (KIBS,
For models equipped with KIBS)
Kawasaki Intelligent anti-lock Brake System (KIBS,
For models equipped with KIBS)Blank Key Detection (Service Code 36, Equipped Models)
Ignition Key Inspection
Register the ignition key correctly (see Key Registration
in the Electrical System chapter).
If the service code 36 appears again, the transponder in
the key is malfunction, replace it.
Immobilizer System Circuit
1. ECU
2. Ignition Switch
3. Immobilizer Ampl ...
DFI Parts Location
Main Throttle Sensor [A]
Subthrottle Sensor [B]
Idle Speed Control Valve Actuator [C]
Subthrottle Valve Actuator [D]
Intake Air Pressure Sensor #2 [E]
Stick Coils #1, #2, #3, #4 [F]
Air Switching Valve [G]
Intake Air Pressure Sensor #1 [H]
Water Temperature Sensor [A]
Primary Fuel Injec ...
Throttle Body Assy Assembly
Before assembling, blow away dirt or dust from the throttle
body and delivery pipe assy by applying compressed air.
Replace the O-rings [A] of the joint pipe [B] with new ones.
Apply engine oil to the new O-rings, and insert it to the
delivery pipes [C].
Insert the joint pipe so th ...