
Insert the projection [F] into the slot [G].
Exhaust Pipe Holder Nuts [H] Exhaust Pipe Clamp Bolt [I]
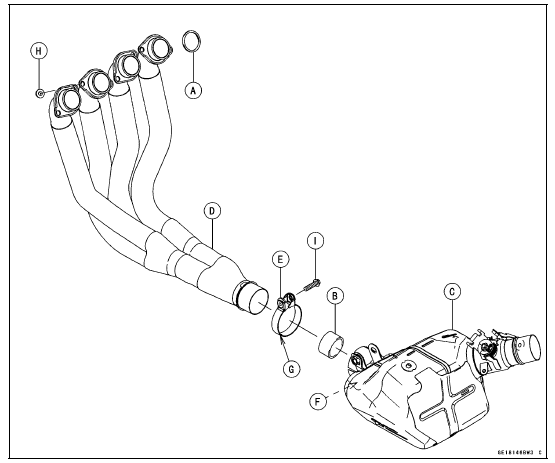
 Exhaust Pipe Removal
 Exhaust Butterfly Valve Cable Removal
Water Pump Housing Assembly
NOTICE
Do not reuse the mechanical seal and oil seal.
Apply high-temperature grease to the new oil seal lips [A].
Press the new oil seal into the housing with a bearing
driver [B] until it stops at the bottom surface [C] of the
housing.
Special Tool - Bearing Driver Set: 57001-1129
...
Sprocket Wear Inspection
Visually inspect the engine and rear sprocket teeth for
wear and damage.
If the teeth are worn as illustrated, replace the sprocket,
and inspect the drive chain wear (see Drive Chain Wear
Inspection in the Periodic Maintenance chapter).
Worn Tooth (Engine Sprocket) [A]
Worn Tooth (Rear ...
Subthrottle Valve Actuator Resistance Inspection
Turn the ignition switch to OFF.
Disconnect the subthrottle valve actuator connector [A].
Connect a digital meter to the subthrottle valve actuator
connector [A].
Measure the subthrottle valve actuator resistance.
Subthrottle Valve Actuator Resistance
Connections: Y/BK lead [1 ...