
Special Tool - Outside Circlip Pliers: 57001-144
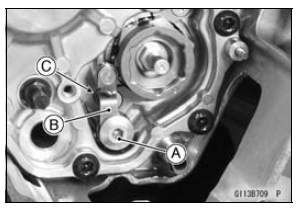
Take care not to drop the parts into the crankcase.
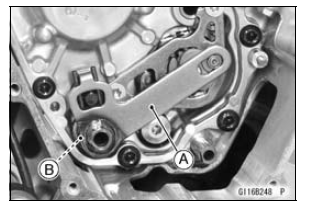

 Shift Pedal Installation
 External Shift Mechanism Installation
Tire Repair
Currently two types of repair for tubeless tires have come
into wide use. One type is called a temporary (external) repair
which can be carried out without removing the tire from
the rim, and the other type is called permanent (internal)
repair which requires tire removal. It is generally unders ...
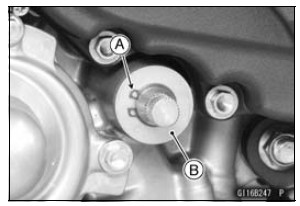
Oil Pump Removal
Remove:
Coolant (Drain, see Coolant Change in the Periodic
Maintenance chapter)
Engine Oil (Drain, see Engine Oil Change in the Periodic
Maintenance chapter)
Sidestand Switch Lead Connector [A] (Disconnect)
Bolt [B] and Water Pipe [C]
Water Pump Cover Bolts [D]
Water Pump Cover [E ...
Handlebar Removal
Remove:
Steering Damper (see Steering Damper Removal)
Clutch Lever Clamp Bolts [A]
Clutch Lever Assembly [B]
Left Switch Housing [C]
Handlebar Weight [D]
Left Handlebar Grip [E]
Remove:
Front Master Cylinder [A] (see Front Master Cylinder Removal
in the Brakes chapter)
...