
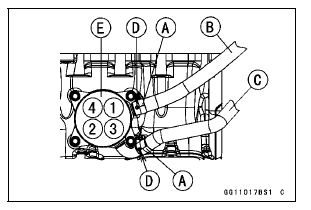
Water Hose (About 300 mm, 11.8 in.) [B] Water Hose (About 130 mm, 5.1 in.) [C] Yellow Paint [D]
Torque - Oil Cooler Mounting Bolts: 12 N·m (1.2 kgf·m, 106 in·lb)
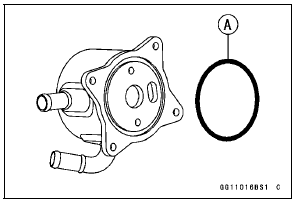
 Oil Cooler Removal
 Oil Pressure Measurement
Cylinder (Upper Crankcase) Wear Inspection
Split the crankcase (see Crankcase Splitting).
Remove the pistons (see Piston Removal).
Assemble the cylinder (upper crankcase) [A], the cylinder
head [B] and the cylinder head gasket [C].
Tighten the cylinder head bolts (see Cylinder Head Installation
in the Engine Top End chapter).
...
Radiator Hose and Pipe Inspection (coolant leak, damage, installation
condition)
The high pressure inside the radiator hose can cause
coolant to leak [A] or the hose to burst if the line is not
properly maintained.
Visually inspect the hoses for signs of deterioration.
Squeeze the hoses. A hose should not be hard and
brittle, nor should it be soft or swollen.
Repl ...
Check 3-7 Stop Watch Inspection
Connect the leads in the same circuit as Check 3-2.
By pushing the upper button each time to set the stop
watch mode.
Connect the insulated auxiliary lead processed insulation
to the terminal [13] as shown in the figure, then stop watch
start to count.
While count the stop watch, conn ...