
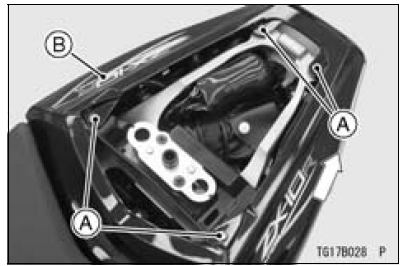
A. Bolts
B. Seat Cover
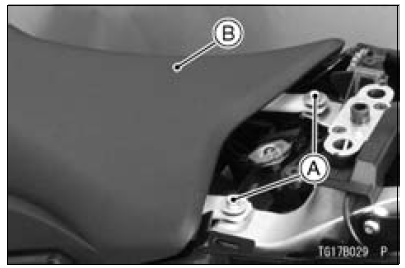
A. Mounting Bolts
B. Rider’s Seat
 Passenger’s Seat Removal
 Rider’s Seat Installation
Troubleshooting guide
Engine Does Not Start
Starter Motor Won’t Turn
Engine stop switch off
Transmission not in neutral
Fuse blown
Battery leads do not make good electrical
contact with battery terminals
Battery discharged
Engine Cranks, But Won’t Start
No fuel in tank
Fuel line clogged
Fuel ...
Evaporative Emission Control System Inspection (CAL and SEA-B1 Models)
Inspect the canister as follows.
Remove the upper fairing assembly (see Upper Fairing
Assembly Removal in the Frame chapter).
Remove the canister [A].
Visually inspect the canister for cracks or other damage.
If the canister has any cracks or bad damage, replace it
with a new one.
NO ...
Caliper Installation
Install the caliper and brake hose lower end.
For the front caliper, be sure to install the collars [A].
Replace the washers on each side of hose fitting with new
ones.
Touch the brake hoses [A] to the stopper [B] of the caliper.
Front Calipers [C]
Rear Caliper [D]
Tighten:
To ...