

NOTE
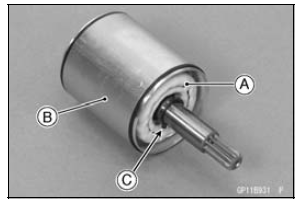
Do not remove the circlip [C] from the shaft.


 Starter Motor Installation
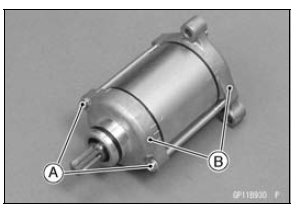
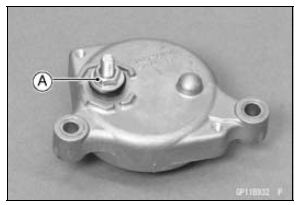
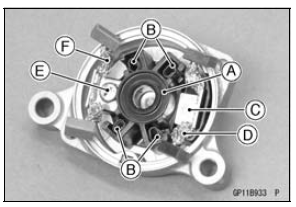
 Starter Motor Assembly
Oil Pressure Switch Installation
Using a high flash-point solvent, clean off any oil or dirt
that may be on the silicone sealant coating area. Dry
them with a clean cloth.
Apply silicone sealant to the threads of the oil pressure
switch, and tighten it.
Sealant - Liquid Gasket, TB1211: 56019-120
Torque - Oil Pressure ...
Radiator Fan Relay Inspection
Refer to the Relay Circuit Inspection in the Electrical System
chapter
If the radiator fan relay is normal, check the wiring for
continuity, using the wiring diagram in this section.
Special Tool - Hand Tester: 57001-1394
If the wiring is good, check the ECU for its ground and
power supp ...
Cylinder Head Installation
NOTE
The camshaft cap is machined with the cylinder head,
so if a new cylinder head is installed, use the cap that
is supplied with the new head.
Install the dowel pins.
Replace the cylinder head gasket with a new one.
Replace the cylinder head bolt washers with new ones.
Apply molybden ...