
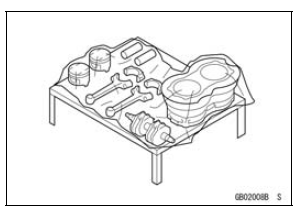
After all the parts including subassembly parts have been cleaned, store the parts in a clean area. Put a clean cloth or plastic sheet over the parts to protect from any foreign materials that may collect before re-assembly.
Inspection
Reuse of worn or damaged parts may lead to serious accident.
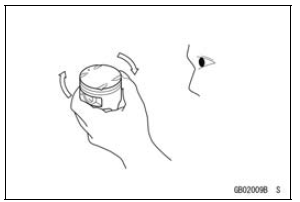
Visually inspect removed parts for corrosion, discoloration, or other damage. Refer to the appropriate sections of this manual for service limits on individual parts. Replace the parts if any damage has been found or if the part is beyond its service limit.
 Cleaning Vehicle before Disassembly
 Replacement Parts
Washing Your Motorcycle
Rinse your bike with cold water from
a garden hose to remove any loose
dirt.
Mix a mild neutral detergent (designed
for motorcycles or automobiles)
and water in a bucket. Use
a soft cloth or sponge to wash your
motorcycle. If needed, use a mild degreaser
to remove any oil or greas ...
Transmission Assy Assembly
Install the ball bearing [A] until it is bottomed.
Turn the oil seal side to the bottom.
Special Tool - Bearing Driver Set: 57001-1129
Install the bearing holder [B].
Turn the flat side to the bottom.
Apply a non-permanent locking agent to the bearing
holder bolts [C].
Tighten: ...
Clock
To adjust hours and minutes, do the
followings while the motorcycle is at a
stop.
Turn the ignition switch to “ON”.
Display the odometer in the multifunction
display. Refer to the “Multifunction
Display” item in this section.
Push the lower button for more than
2 seconds. Bot ...