
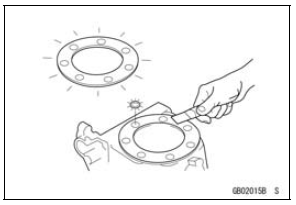
Hardening, shrinkage, or damage of both gaskets and O-rings after disassembly can reduce sealing performance.
Remove old gaskets and clean the sealing surfaces thoroughly so that no gasket material or other material remains.
Install the new gaskets and replace the used O-rings when re-assembling.
 Force
Force Liquid Gasket, Non-permanent Locking Agent
Exhaust Butterfly Valve Actuator Resistance Inspection
Turn the ignition switch to OFF.
Disconnect the exhaust butterfly valve actuator lead connector
(2 pins connector) [A].
Set the hand tester to the × 1 Ω range and connect it to
the exhaust butterfly valve actuator connector.
Special Tool - Hand Tester: 57001-1394
Measure ...
Headlight Bulb Replacement
Turn the cover [A] counterclockwise, and remove it.
Disconnect the headlight connector [A].
Open the clamp [B], and remove the bulb.
NOTICE
When handling the quartz-halogen bulb, never
touch the glass portion with bare hands. Always
use a clean cloth. Oil contamination from hand ...
Parts Removal/Installation
WARNINGGasoline is extremely flammable and can be
explosive
under certain conditions. Turn the ignition
switch OFF. Do not smoke. Make sure the area is
well-ventilated and free from any source of flame
or sparks; this includes any appliance with a pilot
light.
NOTICE
...