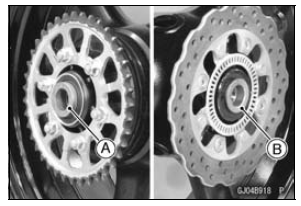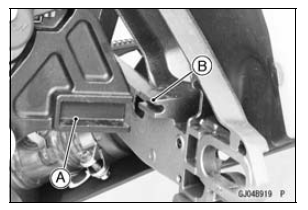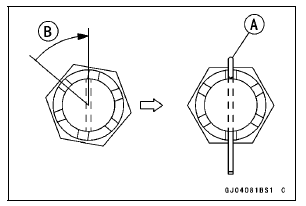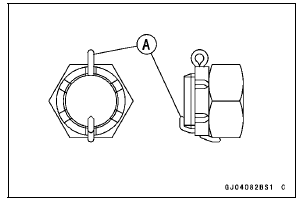

Left Side Collar [A] Right Side Collar [B] (with Flange)


NOTE

| WARNING A loose axle nut can lead to an accident resulting in serious injury or death. Tighten the axle nut to the proper torque and install a new cotter pin. |

| WARNING After servicing, it takes several applications of the brake pedal before the brake pads contact the disc, which could result in increased stopping distance and cause an accident resulting in injury or death. Do not attempt to ride the motorcycle until a firm brake pedal is obtained by pumping the pedal until the pads are against the disc. |
 Rear Wheel Removal
 Wheel Inspection
For Secondary Fuel Injectors
Remove the fuel tank (see Fuel Tank Removal).
Disconnect the secondary fuel injector connector [A].
Connect a digitalmeter to the terminals in each secondary
fuel injector [A].
Measure the secondary fuel injector resistance.
Secondary Fuel Injector Resistance
Standard: Abo ...
Coolant Deterioration Inspection
Remove the right lower fairing (see Lower Fairing Removal
in the Frame chapter).
Visually inspect the coolant in the reserve tank [A].
If whitish cotton-like wafts are observed, aluminum parts
in the cooling system are corroded. If the coolant is
brown, iron or steel parts are rusting. I ...
CAN Communication (Transmission)/CAN Bus OFF Monitor Inspection (Service Code
b 57) CAN Communication (Reception) Monitor Inspection (Service Code b 58)
Remove:
Seat (see Seat Removal in the Frame chapter)
Immobilizer (Equipped Models)/Kawasaki Diagnostic
System Connector Cap [A]
Measure the CAN communication line resistance.
Immobilizer (Equipped Models)/Kawasaki Diagnostic
System Connector [A]
GY/BL Terminal [B]
LB Ter ...