
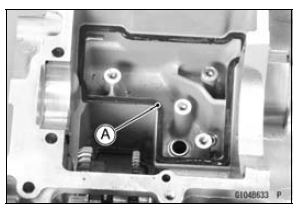
Torque - Breather Plate Bolts: 9.8 N·m (1.0 kgf·m, 87 in·lb)
Special Tool - Bearing Driver Set: 57001-1129
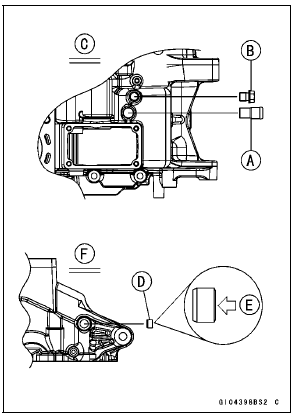
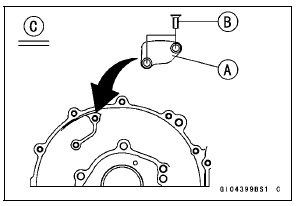
Torque - Breather Plug: 15 N·m (1.5 kgf·m, 11 ft·lb) View from Upside [C]
View from Left Side [F]
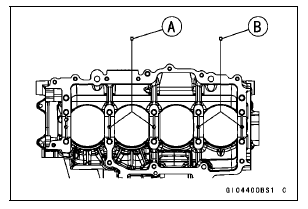
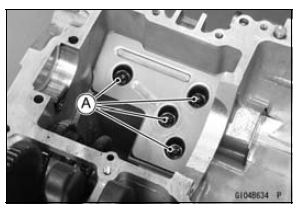
 Crankcase Assembly
 Lower Crankcase Assembly
Self-Diagnosis Outline
The self-diagnosis system is monitoring the following
mechanisms.
DFI System and Ignition System
S-KTRC System
Immobilizer System (Equipped Models)
KIBS and ABS (Equipped Models)
ESD (Electronic Steering Damper) System
(ZX1000JD/KD)
The following warning indicator lights (LED) are used for ...
Fuel Pump Relay Inspection
Refer to the Relay Circuit Inspection in the Electrical System
chapter.
If the fuel pump relay is normal, check the wiring to the
fuel pump relay (see Fuel Pump Relay Circuit).
Special Tool - Hand Tester: 57001-1394
If the wiring is good, check the ECU for its ground and
power supply (se ...
Cable, Wire, and Hose Routing
1. Clamp (Hold the regulator/rectifier lead. Run the lead inside of the
installation hole.)
2. Clamp (Bend down the clamp, and hold the main harness and the vacuum hose
(equipped
models).)
3. Clamp (Hold the air intake solenoid valve lead (equipped models).)
4. Run the vacuum hose under ...