
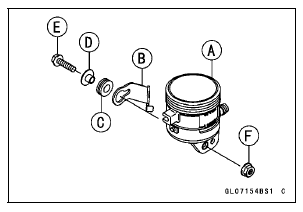
Damper [C] Collar [D] Bolt [E] Nut [F]
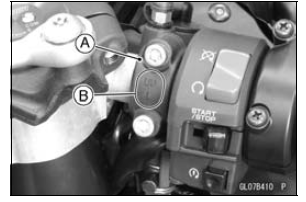
Torque - Front Master Cylinder Clamp Bolts: 11 N·m (1.1 kgf·m, 97 in·lb)
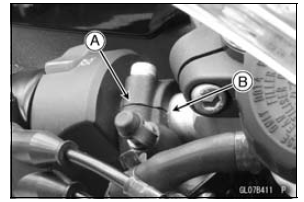
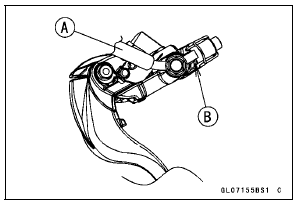
Touch the brake hose to the stopper [B] of the front master cylinder.
 Front Master Cylinder Removal
 Rear Master Cylinder Removal
Balance Weight Installation
Check if the weight portion has any play on the blade [A]
and clip [B].
If it does, discard it.
WARNINGUnbalanced wheels can create an unsafe
riding
condition. If the balance weight has any play on
the rib of the rim, the blade and/or clip have been
stretched. Replace th ...
ZX1000JB/KB Models
1. Run the fuse box 2 lead in front of the rib for the fuse box 2.
2. Seat Lock Cable
3. Hook the licence plate light lead and the left turn signal light lead on
the projection of the tool
kit case.
4. Rib for Fuse Box 2
5. Run the starter relay lead in back of the rib for the fuse box 2 ...
Brake Disc Warp Inspection
Raise the wheel off the ground with the jack.
Special Tools - Jack: 57001-1238
Jack Attachment: 57001-1608
For front disc inspection, turn the handlebar fully to one
side.
Set up a dial gauge against the disc [A] as shown in
the figure and measure disc runout, while turning [B] the
...