
If they do not, adjust the chain slack and align the wheel alignment (see Drive Chain Slack Adjustment).
NOTE
Wheel alignment can be also checked using the straightedge or string method.
|
WARNING Misalignment of the wheel will result in abnormal wear and may result in an unsafe riding condition. Be sure the wheel is properly aligned. |
 Drive Chain Slack Adjustment
 Drive Chain Wear Inspection
Rocker Arm/Tie-Rod Bearing, Sleeve Inspection
NOTICE
Do not remove the bearings for inspection. Removal
may damage them.
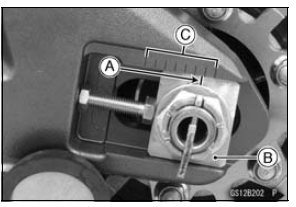
Visually inspect the rocker arm, or tie-rod sleeves [A] and
needle bearings [B].
The rollers in a needle bearing normally wear very little,
and wear is difficult to measure. Instead of measuring,
inspect the ...
Starter Clutch Installation
Replace the O-ring [A] with a new one and apply grease.
Apply molybdenum disulfide grease to the starter clutch
shaft [B].
Install:
Starter Clutch [C]
Spacer (Small Diameter) [D]
Spacer (Large Diameter) [E]
Starter Clutch Shaft
Starter Clutch Shaft Holder [F]
Turn the O-ring si ...
Subthrottle Valve Actuator Input Voltage Inspection
NOTE
Be sure the battery is fully charged.
Turn the ignition switch to OFF.
Disconnect the subthrottle valve actuator connector and
connect the measuring adapter [A] between these connectors
as shown in the figure.
Main Harness [B]
Subthrottle Valve Actuator [C]
Special Tool ...