
If the wheel rotates and the weight goes up, replace the weight with the next heavier size. If the wheel rotates and the weight goes down, replace the weight with the next lighter size. Repeat these steps until the wheel remains at rest after being rotated 1/4 turn.
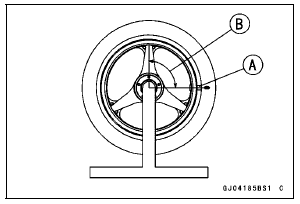
 Balance Inspection
 Balance Weight Removal
Brake Hose and Pipe Damage and Installation Condition Inspection
Inspect the brake hoses, pipes and fittings for deterioration,
cracks and signs of leakage.
The high pressure inside the brake line can cause fluid to
leak [A] or the hose to burst if the line is not properly maintained.
Bend and twist the rubber hose while examining
it.
Replace the ...
Check 3-6: Neutral Indicator Light (LED) Inspection
Connect the leads in the same circuit as Check 3-2.
Connect the terminal [8] to the battery (–) terminal.
Check that the neutral indicator light (LED) [A] goes on.
If the indicator light does not go on, replace the meter unit.
...
Front Wheel Rotation Sensor Signal (Service Code 27)
Front Wheel Rotation Sensor Signal Inspection
The front wheel rotation sensor sends the signal to the
ECU through the KIBS hydraulic unit (KIBS equipped
models). For other than KIBS equipped models, the
signal is sent directly to the ECU.
The ECU uses the wheel rotation sensor signal for KTRC
...