
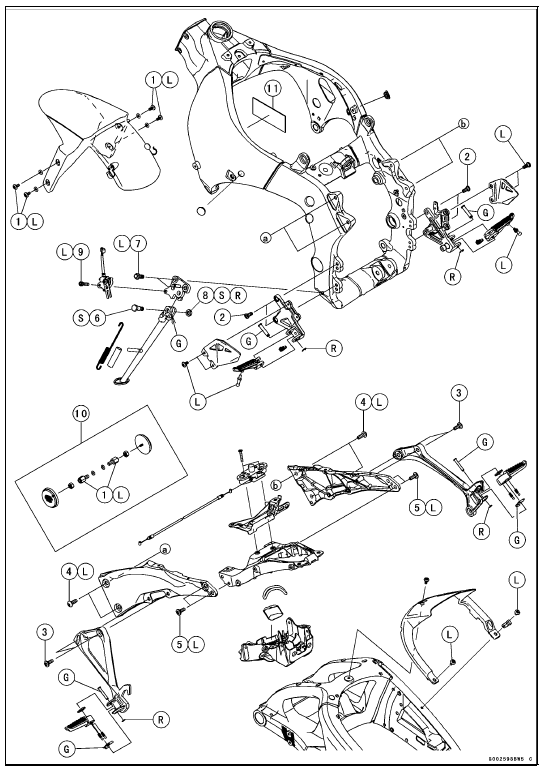
10. US, CA, CAL and AU Models 11. ZX1000JD/KD G: Apply grease.
L: Apply a non-permanent locking agent.
R: Replacement Parts S: Follow the specified tightening sequence.
1. US, CA and CAL Models
2. ZX1000J Model
3. ZX1000K Model
4. AU Model
5. Face the large diameter side rearward.
L: Apply a non-permanent locking agent.
R. Replacement Parts

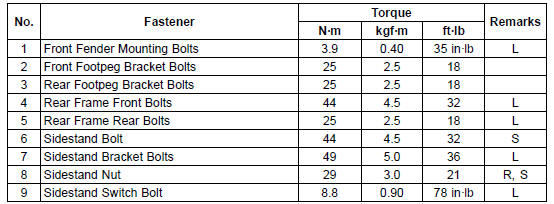
 Frame
Frame Seats
SeatsStator Coil Installation
Apply a non-permanent locking agent to the threads of
the stator coil bolts and tighten them.
Torque - Stator Coil Bolts: 12 N·m (1.2 kgf·m, 106 in·lb)
Using a high flash-point solvent, clean off any oil or dirt
that may be on the silicone sealant coating area. Dry
them with a clea ...
Tire Tread Wear Inspection
As the tire tread wears down, the tire becomes more susceptible
to puncture and failure. An accepted estimate is
that 90% of all tire failures occur during the last 10% of tread
life (90% worn). So it is false economy and unsafe to use
the tires until they are bald.
Measure the tread depth a ...
Exhaust Butterfly Valve Actuator Resistance Inspection
Turn the ignition switch to OFF.
Disconnect the exhaust butterfly valve actuator lead connector
(2 pins connector) [A].
Set the hand tester to the × 1 Ω range and connect it to
the exhaust butterfly valve actuator connector.
Special Tool - Hand Tester: 57001-1394
Measure ...