
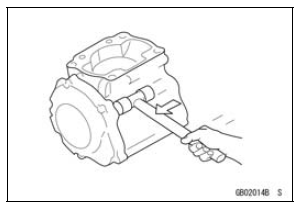
Use common sense during disassembly and assembly, excessive force can cause expensive or hard to repair damage.
When necessary, remove screws that have a non -permanent locking agent applied using an impact driver.
Use a plastic-faced mallet whenever tapping is necessary.
 Tightening Sequence
 Gasket, O-ring
Stick Coil Inspection
Remove the stick coils (see Stick Coil Removal).
Measure the primary winding resistance [A] as follows.
Connect the hand tester between the coil terminals.
Set the tester to the × 1 Ω range, and read the tester.
Measure the secondary winding resistance [B] as follows.
Conn ...
Front Wheel Rotation Sensor Removal
NOTICE
The wheel rotation sensor should be handled carefully,
never struck sharply, as with a hammer, or allowed
to fall on a hard surface since the wheel rotation
sensor is precision made. Be careful not to get
water or mud on the wheel rotation sensor.
Do not try to disassemble or repair t ...
Armature Inspection
Using the × 1 Ω hand tester range, measure the resistance
between any two commutator segments [A].
Special Tool - Hand Tester: 57001-1394
If there is a high resistance or no reading (∞) between any
two segments, a winding is open and the starter motor
must be replaced.
...