
NOTICE
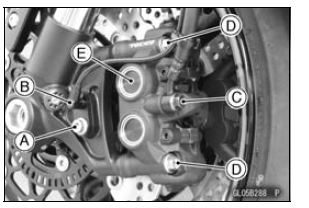
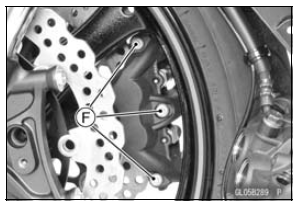
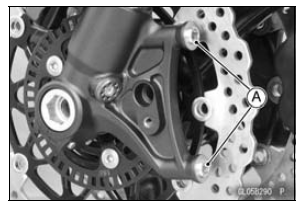
Do not loosen the caliper assembly bolts [F]. Take out only the caliper mounting bolts for caliper removal.
Loosening the caliper assembly bolts will cause brake fluid leakage.
NOTICE
Immediately wash away any brake fluid that spills.
NOTE
If the caliper is to be disassembled after removal and if compressed air is not available, disassemble the caliper before the brake hose is removed (see Caliper Rubber Parts Replacement in the Periodic Maintenance chapter).
 Calipers
 Rear Caliper Removal
Valve Clearance
Valve and valve seat wear decreases
valve clearance, upsetting valve timing.
NOTICE
If valve clearance is left unadjusted,
wear will eventually
cause the valves to remain
partly open; which lowers performance,
burns the valves and
valve seats, and may cause serious
engine damage.
Valve cle ...
Special Tools and Sealant
Oil Pressure Gauge, 5 kgf/cm²:
57001-125
Hand Tester:
57001-1394
Needle Adapter Set:
57001-1457
Extension Tube:
57001-1578
Fuel Pressure Gauge Adapter:
57001-1593
Fuel Hose:
57001-1607
Measuring Adapter:
57001-1700
Liquid Gasket, TB1211:
56019-120
...
Storage of Removed Parts
After all the parts including subassembly parts have been
cleaned, store the parts in a clean area. Put a clean cloth
or plastic sheet over the parts to protect from any foreign
materials that may collect before re-assembly.
Inspection
Reuse of worn or damaged parts may lead to serious acci ...