
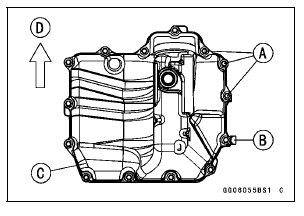
 Oil Pan
 Oil Pan Installation
Clock
To adjust hours and minutes, do the
followings while the motorcycle is at a
stop.
Turn the ignition switch to тАЬONтАЭ.
Display the odometer in the multifunction
display. Refer to the тАЬMultifunction
DisplayтАЭ item in this section.
Push the lower button for more than
2 seconds. Bot ...
Subthrottle Valve Actuator Resistance Inspection
Turn the ignition switch to OFF.
Disconnect the subthrottle valve actuator connector [A].
Connect a digital meter to the subthrottle valve actuator
connector [A].
Measure the subthrottle valve actuator resistance.
Subthrottle Valve Actuator Resistance
Connections: Y/BK lead [1 ...
City Light (LED) Removal/Installation
Remove:
Upper Fairing Assembly (see Upper Faring Assembly
Removal in the Frame chapter)
Headlight (see Headlight Removal)
Remove the screws [A], and take the city light [B] off the
upper fairing assembly.
Installation is the reverse of removal. Note the following.
When inst ...