
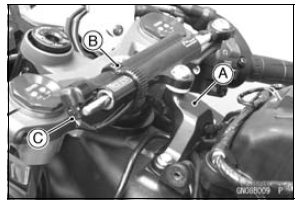
Collar [A]
Washer (t = 3.5 mm, 0.14 in.) [B]
Steering Damper [C] (
ZX1000JC/KC)
Electronic Steering Damper [D] (ZX1000JD/KD)
Washer (t = 1.2 mm, 0.05 in.) [E]
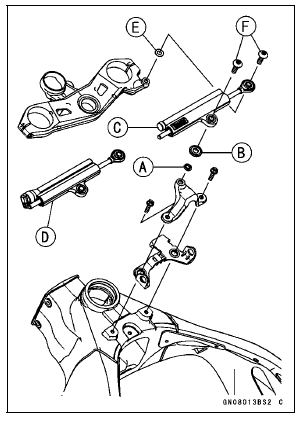
Left Side View [C]
ZX1000JD/KD
In this photo, the fuel tank covers have been removed for clarity.
Fit the projection of the clamp to the hole in front of the electronic steering damper.
Steering Damper Oil Leak Inspection
 Steering Damper Removal
 ESD (Electronic Steering Damper) ECU Removal (ZX1000JD/KD)
Rear Wheel Removal
Raise the rear wheel off the ground with the stand [A].
Remove:
Cotter Pin [A]
Rear Axle Nut [B]
Washer [C]
Rear Axle [D] (from Right Side)
Remove the rear wheel rotation sensor from the caliper
bracket (see Rear Wheel Rotation Sensor Removal in the
Brakes chapter).
...
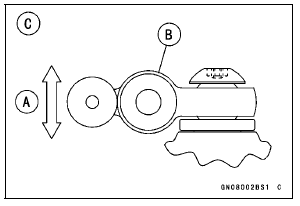
Armature Inspection
Using the × 1 Ω hand tester range, measure the resistance
between any two commutator segments [A].
Special Tool - Hand Tester: 57001-1394
If there is a high resistance or no reading (∞) between any
two segments, a winding is open and the starter motor
must be replaced.
...
Seat Cover Removal
Remove:
Rear Seat (see Rear Seat Removal)
Remove the bolts [A].
Remove the upper seat cover backward [B] to clear the
hook portions.
Remove:
Front Seat (see Front Seat Removal)
Quick Rivets [A]
Bolts [B]
Seat Covers [C]
...