
Torque - Air Intake Duct Assembly Screws: 1.5 N·m (0.15 kgf·m, 13 in·lb)
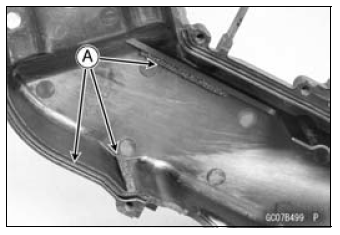
 Air Intake Duct Disassembly
(Other than US, CA and CAL Models)
Air Intake Duct Disassembly
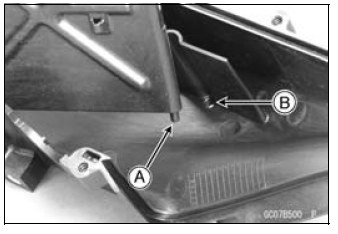
(Other than US, CA and CAL Models) Air Intake Solenoid Valve
Removal (Other than US, CA and CAL Models)
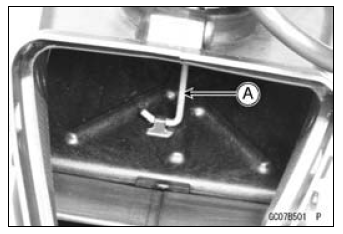
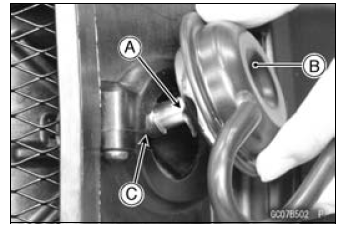
Air Intake Solenoid Valve
Removal (Other than US, CA and CAL Models)Starter Clutch Removal
Remove:
Torque Limiter (see Torque Limiter Removal)
Transmission Assy (see Transmission Assy Removal)
Starter Clutch Shaft Holder Bolt [A]
Starter Clutch Shaft Bolt [B]
Starter Clutch Shaft Holder [C]
Remove the starter clutch shaft [A] using a suitable M8
bolt [B].
Take ...
Front Wheel Rotation Sensor Signal (Service Code 27)
Front Wheel Rotation Sensor Signal Inspection
The front wheel rotation sensor sends the signal to the
ECU through the KIBS hydraulic unit (KIBS equipped
models). For other than KIBS equipped models, the
signal is sent directly to the ECU.
The ECU uses the wheel rotation sensor signal for KTRC
...
Clutch Installation
Apply engine oil to the needle bearing [A] and the sleeve
[B].
Install:
Needle Bearing
Sleeve
Install the clutch housing [A].
Fit the holes [B] and projections [C].
Engage the clutch housing gear and the crankshaft primary
gear.
Install the spacer [A] and the clutch ...