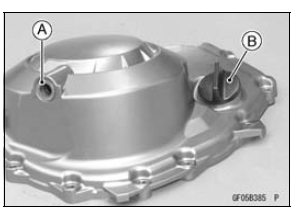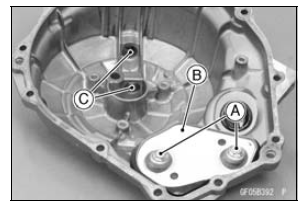


 Release Shaft Installation
 Clutch Cover Assembly
Front Wheel Rotation Sensor Signal Abnormal (Service Code b 42)
Measure the air gap between the front wheel rotation sensor
and sensor rotor.
Thickness Gauge [A]
Air Gap
Standard: 0.4 1.6 mm (0.02
0.06 in.)
If the measurement is not the standard, check each part
for deformation and looseness and correct accordingly.
If the measurement is t ...
Seat Cover Installation
Installation is the reverse of removal. Note the following.
When installing the pad [A], install it along the corner [B]
as shown in the figure.
When installing the pad [C], align the ends [D], along the
corner [E], and wrap [F] the upper edge of the seat cover.
Install the damper [A] ...
Idle Speed Inspection
Start the engine and warm it up thoroughly.
With the engine idling, turn the handlebar to both sides
[A].
If handlebar movement changes the idle speed, the
throttle cables may be improperly adjusted or incorrectly
routed, or damaged. Be sure to correct any of these
conditions before rid ...