

NOTICE
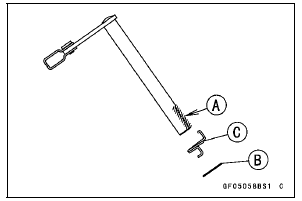
When inserting the release shaft, be careful not to remove the spring of the oil seal.

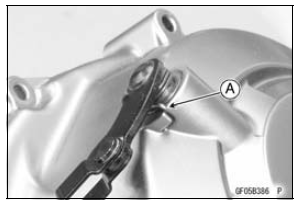
 Release Shaft Removal
 Clutch Cover Disassembly
Interlock Operation Inspection
Raise the rear wheel off the ground with the stand [A].
1st Check
Start the engine to the following conditions
Condition:
Transmission Gear → 1st Position
Clutch Lever → Release
Sidestand → Down or Up
Turn the ignition switch to ON and push the starter butto ...
Wheels
Tubeless tires are installed on the
wheels of this motorcycle. The indications
of “TUBELESS” on the tire side
wall and the rim show that the tire and
rim are specially designed for tubeless
use.
A. “TUBELESS” Mark
A. “TUBELESS” Mark
The tire and rim form a leakproof unit
by ...
Tire Installation
WARNINGSome replacement tires may adversely
affect handling
and cause an accident resulting in serious injury
or death. To ensure proper handling and stability,
use only the recommended standard tires for
replacement, inflated to the standard pressure.
Inspect the rim ...