
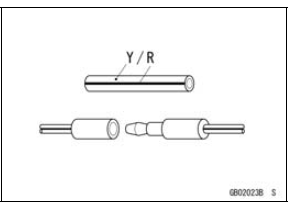
A two-color lead is identified first by the primary color and then the stripe color. Unless instructed otherwise, electrical leads must be connected to those of the same color.
Instrument
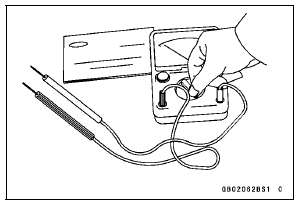
Use a meter that has enough accuracy for an accurate measurement. Read the manufacture’s instructions thoroughly before using the meter. Incorrect values may lead to improper adjustments.
 Lubrication
 Model Identification
Piston Ring Groove Width Inspection
Measure the piston ring groove width.
Use a vernier caliper at several points around the piston.
Piston Ring Groove Width
Standard:
Top [A] 0.82 0.84 mm (0.0323
0.0331 in.)
Second [B] 0.82 0.84 mm
(0.0323 0.0331 in.)
Service Limit:
0.92 mm (0.036 in.)
Second 0.92 mm (0.036 in.)
...
Oil Level Inspection
Check that the engine oil level is between the upper [A]
and lower [B] levels in the gauge.
NOTE
Situate the motorcycle so that it is perpendicular to the
ground.
If the motorcycle has just been used, wait several minutes
for all the oil to drain down.
If the oil has just been changed, ...
Drive Chain Slack Inspection
Refer to the Drive Chain Slack Inspection in the Periodic
Maintenance chapter.
Drive Chain Slack Adjustment
Refer to the Drive Chain Slack Adjustment in the Periodic
Maintenance chapter.
Wheel Alignment Inspection/Adjustment
Refer to the Wheel Alignment Inspection in the Periodic
Maintenance ...