
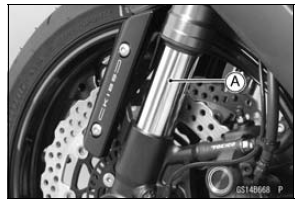
If the forks do not smoothly or noise is found, inspect the fork oil level or fork clamps (see Front Fork Oil Change in the Suspension chapter).
If the shock absorber does not smoothly stroke or noise is found, inspect the oil leak (see Rear Shock Absorber Oil Leak Inspection).
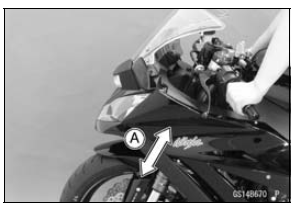
Front Fork Oil Leak Inspection
Replace any defective parts, if necessary.
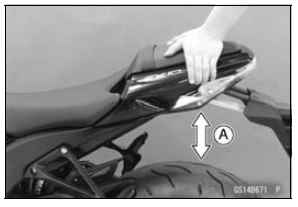
Rear Shock Absorber Oil Leak Inspection
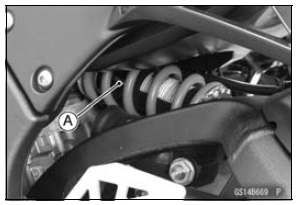
If the oil leakage is found on it, replace the shock absorber with a new one.
 Suspension
 Rocker Arm Operation Inspection
Subthrottle Valve Actuator Input Voltage Inspection
NOTE
Be sure the battery is fully charged.
Turn the ignition switch to OFF.
Disconnect the subthrottle valve actuator connector and
connect the measuring adapter [A] between these connectors
as shown in the figure.
Main Harness [B]
Subthrottle Valve Actuator [C]
Special Tool ...
Cable Removal
Remove:
Air Cleaner Housing (see Air Cleaner Housing Removal
in the Fuel System (DFI) chapter)
Right Lower Fairing (see Lower Fairing Removal in the
Frame chapter)
Loosen the nuts [A], and slide the lower end of the clutch
cable to give the cable plenty of play.
Screw in the ...
Intake Air Temperature Sensor Output Voltage Inspection
NOTE
Be sure the battery is fully charged.
Turn the ignition switch to OFF.
Remove the fuel tank (see Fuel Tank Removal in the Fuel
System (DFI) chapter).
Disconnect the intake air temperature sensor connector
and connect the measuring adapter [A] between these
connectors as shown in ...