
All warning labels which are on your vehicle are repeated here. Read labels on your vehicle and understand them thoroughly. They contain information which is important for your safety and the safety of anyone else who may operate your vehicle. Therefore, it is very important that all warning labels be on your vehicle in the locations shown. If any label is missing, damaged, or worn, get a replacement from your Kawasaki dealer and install it in the correct position.
NOTE
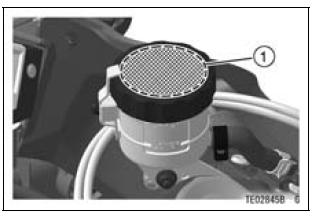
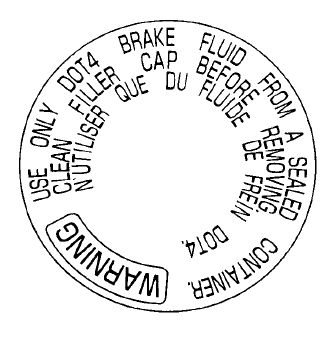
1. Brake Fluid (Front)
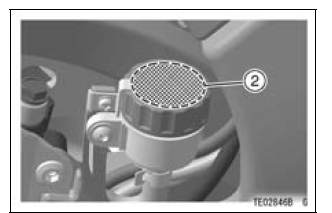
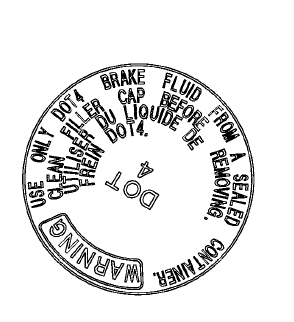
2. Brake Fluid (Rear)
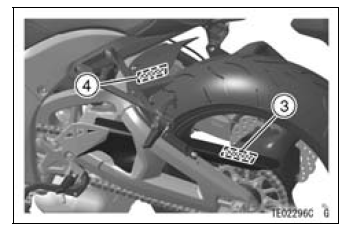
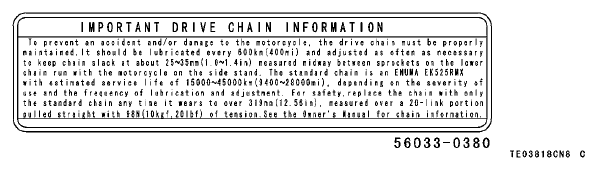
3. Important Drive Chain Information
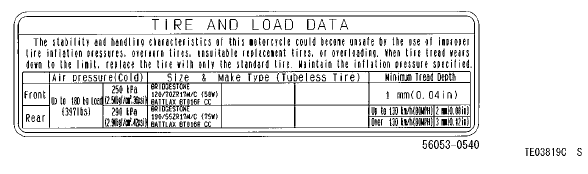
4. Tire and Load Data
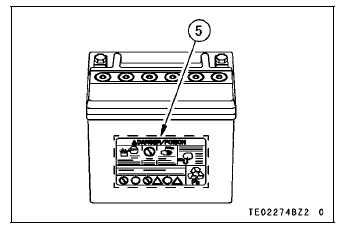
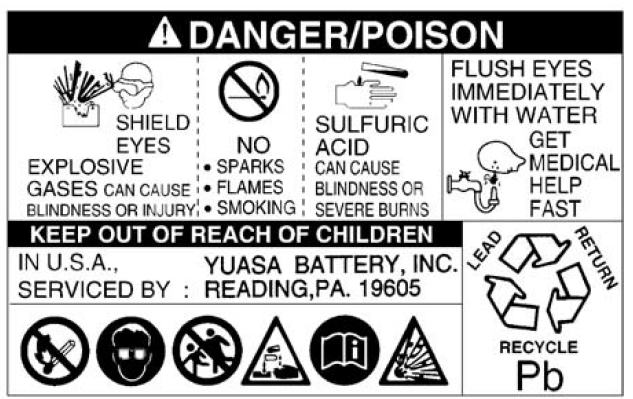
5. Battery Poison/Danger
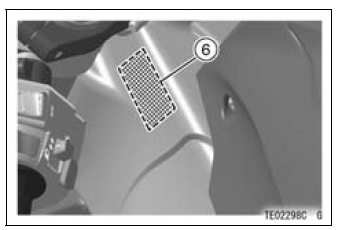
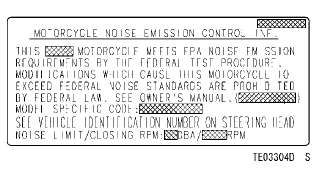
6. Noise Emission Control Information
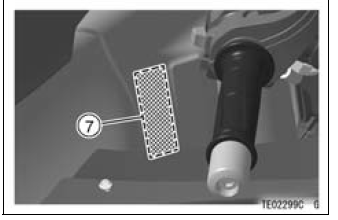
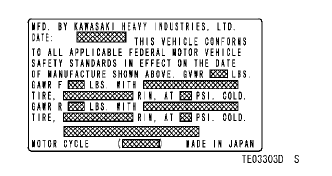
7. Weight and Manufacture
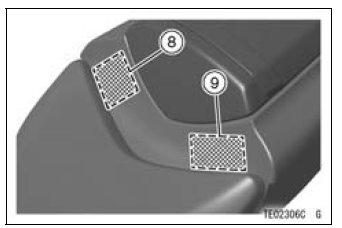
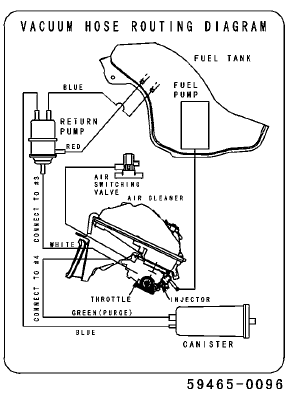
*8. Vacuum Hose Routing Diagram
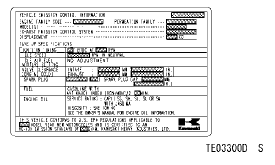
9. Vehicle Emission Control Information
* : only on California model
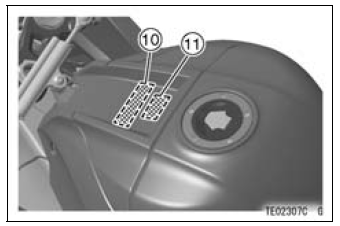
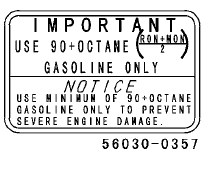
*10. Fuel Level
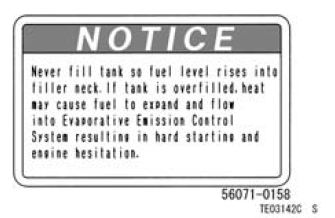
11. Fuel Notice
* : only on California model
1) 
2) 
3) 
4) 
5) 
6)
7)
8) only on California model
9) except California model
9)only on California model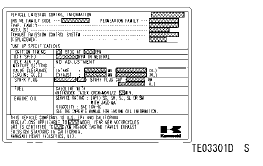
10) only on California model
11)
 Reporting safety defects
 Kawasaki Ninja Service Manual
Stick Coil Installation
Apply a thin coat of grease [A] to the stick coils for easy
installation.
Insert the stick coils so that the coil heads align with the
lines [B] on the cylinder head cover.
NOTICE
Do not tap the coil head while installing the coil.
After installation, be sure the stick coils are ...
Seat Cover Removal
Remove:
Rear Seat (see Rear Seat Removal)
Remove the bolts [A].
Remove the upper seat cover backward [B] to clear the
hook portions.
Remove:
Front Seat (see Front Seat Removal)
Quick Rivets [A]
Bolts [B]
Seat Covers [C]
...
Compression Damping Force Adjustment
There are two adjustments you can make to the compression
damping force.
High Speed Compression Damping Adjuster [A]
Low Speed Compression Damping Adjuster [B]
To adjust the high speed compression damping force, turn
the outside damping adjuster with a wrench to the desired
position ...