
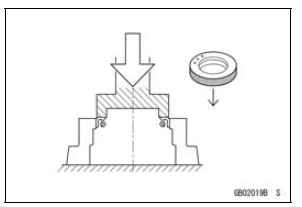
Do not remove pressed oil or grease seals unless removal is necessary. Replace with new ones whenever removed.
Press new oil seals with manufacture and size marks facing out. Make sure the seal is aligned properly when installing.
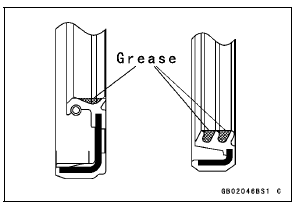
Apply specified grease to the lip of seal before installing the seal.
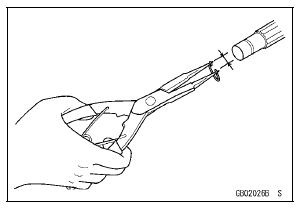
Circlips, Cotter Pins
Replace the circlips or cotter pins that were removed with new ones. Take care not to open the clip excessively when installing to prevent deformation.
 Ball Bearing and Needle Bearing
 Lubrication
Exploded View
13. Front Wheel Rotation Sensor
B: Apply brake fluid.
L: Apply a non-permanent locking agent.
R: Replacement Parts
S: Follow the specified tightening sequence.
Si: Apply silicone grease (ex. PBC grease).
10. Rear Wheel Rotation Sensor
B: Apply brake fluid.
G: Apply gr ...
Oil Cooler Installation
Replace the O-ring [A] with a new one.
Apply grease to the new O-ring.
Install the water hoses and hose clamps [A] as shown in
the figure.
Water Hose (About 300 mm, 11.8 in.) [B]
Water Hose (About 130 mm, 5.1 in.) [C]
Yellow Paint [D]
Tighten:
Torque - Water Hose Clamp S ...
Exploded View
25. “1T” marked side faces up.
26. “T2” marked side faces up.
27. Hollow mark faces exhaust side.
G: Apply grease.
L: Apply a non-permanent locking agent.
LG: Apply liquid gasket.
M: Apply molybdenum disulfide grease.
MO: Apply molybdenum disulfide oil solution.
...