
 Rocker Arm Removal
 Tie-Rod and Rocker Arm Bearing Removal
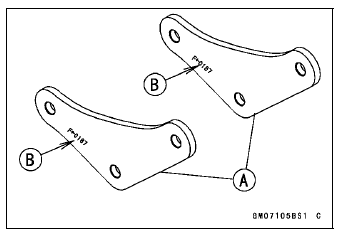
Special Tools and Sealant
Oil Pressure Gauge, 10 kgf/cm²:
57001-164
Oil Pressure Gauge Adapter, PT3/8:
57001-1233
Outside Circlip Pliers:
57001-144
Liquid Gasket, TB1211:
56019-120
...
Diode Circuit Inspection
Remove the relay box (see Relay Box Removal).
Check conductivity of the following pairs of terminals (see
Relay Box Internal Circuit in this section).
Diode Circuit Inspection
The resistance should be low in one direction and more
than 10 times as much in the other direction. If any dio ...
Tire Air Pressure Inspection
Remove the air valve cap.
Measure the tire air pressure with an air pressure gauge
[A] when the tires are cold (that is, when the motorcycle
has not been ridden more than a mile during the past 3
hours).
Install the air valve cap.
Adjust the tire air pressure according to the specifi ...