
NOTICE
Never drop the air switching valve especially on a hard surface. Such a shock to the air switching valve can damaged it.
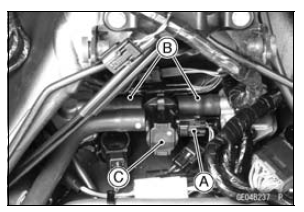
 Air Suction Valve Inspection
 Air Switching Valve Installation
Rear Shock Absorber Inspection
Press down on the seat several times
to inspect the stroke.
Visually inspect the rear shock absorber
for oil leaks.
If there is any doubt about the rear
shock absorber, it should be inspected
by an authorized Kawasaki
dealer.
A. Rear Shock Absorber
Spring Preload Adjustment
...
Check 3-6: Neutral Indicator Light (LED) Inspection
Connect the leads in the same circuit as Check 3-2.
Connect the terminal [8] to the battery (–) terminal.
Check that the neutral indicator light (LED) [A] goes on.
If the indicator light does not go on, replace the meter unit.
...
Electronic Steering Damper Warning Indicator Light
The yellow light functions as the
electronic steering damper warning indicator.
The light and warning symbol
"ESD" go on if there is a malfunction in
the electronic steering damper system.
However, this could also be caused by
trouble with the charging system (e.g.
battery). I ...