
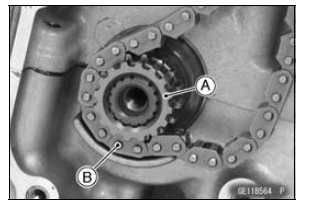
 Cam Wear Inspection
 Camshaft Chain Installation
Meter Unit Removal/Installation
Remove the upper fairing assembly (see Upper Fairing
Assembly Removal in the Frame chapter)
Remove the bolt [A] (other than US, CA and CALmodels).
Slide back the dust cover and disconnect the meter unit
connector [B].
Remove:
Bolts [A]
Nut [B] (other than US, CA and CAL mode ...
Fuel Injector Fuel Line Inspection
Remove:
Fuel Tank (see Fuel Tank Removal)
Air Cleaner Housing (see Air Cleaner Housing Removal)
Disconnect:
Primary and Secondary Fuel Hoses (see Fuel Hose Replacement
in the Periodic Maintenance chapter)
Do not remove the nozzle assy from the air cleaner housing.
Be sure to pla ...
Cylinder Head Removal
Remove:
Thermostat Housing (see Thermostat Removal in the
Cooling System chapter)
Exhaust Pipe (see Exhaust Pipe Removal)
Camshafts (see Camshaft Removal)
Heat Insulation Plate [A] (see Engine Removal in the
Engine Removal/Installation chapter)
Place a container under the coolant dr ...