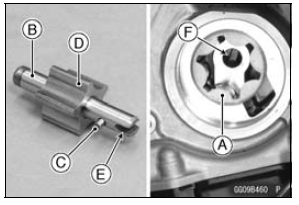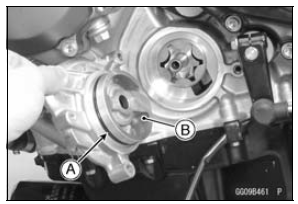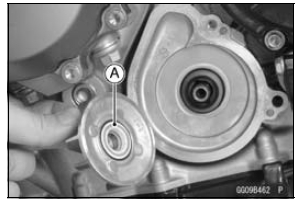

To prevent dropping, apply grease to the pin.
Fit the slot [E] onto the projection [F].


Torque - Water Pump Cover Bolts: 9.8 N·m (1.0 kgf·m, 87 in·lb)
Insert the bolt (L = 25 mm, 1.0 in.) to the upper bolt hole.
Torque - Water Pipe Mounting Bolt: 9.8 N·m (1.0 kgf·m, 87 in·lb) Water Hose Clamp Screws: 3.0 N·m (0.31 kgf·m, 27 in·lb)
 Oil Pump Removal
 Oil Pump Drive Gear Removal/Installation
Fuel Pressure Inspection
NOTE
Be sure the battery is fully charged.
Remove:
Fuel Tank Covers (see Fuel Tank Removal)
Fuel Tank Bolts (see Fuel Tank Removal)
Primary Fuel Hose (see Fuel Hose Replacement in the
Periodic Maintenance chapter)
Be sure to place a piece of cloth around the fuel outlet
pipe of the ...
Subthrottle Sensor Resistance Inspection
Turn the ignition switch to OFF.
Disconnect the subthrottle sensor connector.
Connect a digital meter [A] to the subthrottle sensor connector
[B].
Measure the subthrottle sensor resistance.
Subthrottle Sensor Resistance
Connections: BL lead [D] ←→ BR/BK lead [C]
Standard: ...
Tie-Rod and Rocker Arm Bearing Installation
Replace the needle bearings [A] and oil seals with new
ones.
Apply plenty of grease to the lips of the oil seals.
Install the needle bearings and oil seals position as shown
in the figure.
Screw the needle bearing driver into the driver holder.
Insert the needle bearing driver into th ...