
Check that the engine stop switch is
in the 
position.
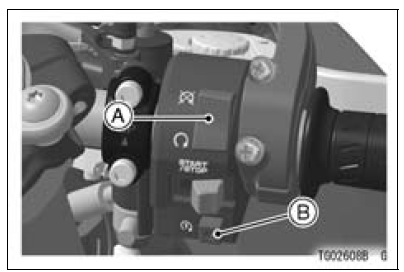
A. Engine Stop Switch
B. Starter Button
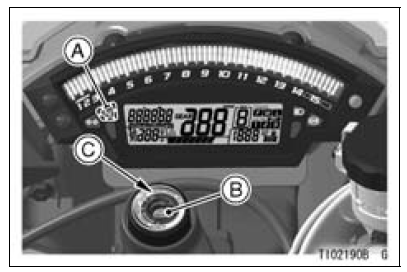
A. Neutral Indicator Light
B. Ignition Switch
C. “ON� position
NOTE
After the meter operation check, leaving the throttle completely closed, push the starter button.
NOTICE
Do not operate the starter continuously for more than 5 seconds, or the starter will overheat and the battery power will drop temporarily. Wait 15 seconds between each operation of the starter to let it cool and the battery power recover.
NOTE
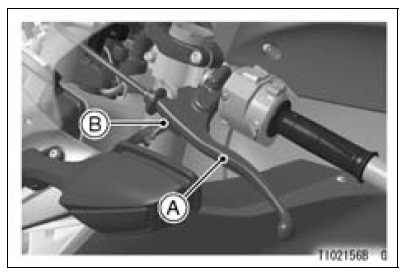
A. Clutch Lever
B. Starter Lockout Switch
NOTICE
Do not let the engine idle longer than five minutes, or engine overheating and damage may occur.
 Jump starting
Idle Speed Control Valve Actuator Removal
NOTICE
Never drop the idle speed control valve actuator especially
on a hard surface. Such a shock to the actuator
can damage it.
Remove:
Throttle Body Assy (see Throttle Body Assy Removal in
the Fuel System (DFI) chapter)
Idle Speed Control Valve Actuator Retainer Screws [A]
Idle Spe ...
Air Intake Duct Disassembly
(Other than US, CA and CAL Models)
Remove:
Air Intake Duct (see Air Intake Duct Removal)
Seal [A] and Screen [B]
Turn the air intake valve actuator [C] counterclockwise
(90°).
Remove the shaft [A] of the air intake valve actuator.
Remove:
Pad [A]
Screws [B]
Air Intake Valve [C]
...
Valve Clearance
Valve and valve seat wear decreases
valve clearance, upsetting valve timing.
NOTICE
If valve clearance is left unadjusted,
wear will eventually
cause the valves to remain
partly open; which lowers performance,
burns the valves and
valve seats, and may cause serious
engine damage.
Valve cle ...
