
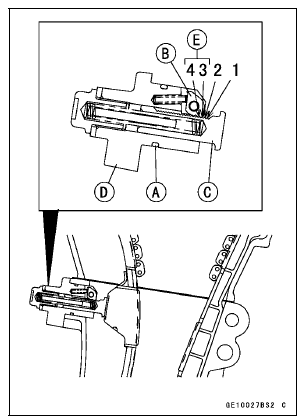
Torque - Camshaft Chain Tensioner Mounting Bolts: 9.8 N·m (1.0 kgf·m, 87 in·lb)
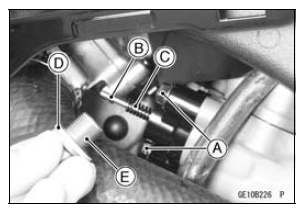
Torque - Camshaft Chain Tensioner Cap Bolt: 20 N·m (2.0 kgf·m, 15 ft·lb)
 Camshaft Chain Tensioner Removal
Front Seat Installation
Installation is the reverse of removal. Note the following.
Check that the dampers [A] are in place on the front seat.
Install the collars [B] as shown in the figure.
Place the seat hooks [A] under the fuel tank bracket [B].
...
Throttle Body Assy Installation
Apply a thin coat of grease to the throttle cable lower ends.
Fit the accelerator cable end [A] and the decelerator cable
end [B] into the throttle pulley.
Install the clamp [C] securely.
Install the throttle body assy holder clamp bolt heads [A]
outside as shown in the figure.
...
Spark Plugs
The standard spark plug is shown in
the table. The spark plugs should be
replaced in accordance with the Periodic
Maintenance Chart.
Spark plug removal should be done
only by a competent mechanic following
the instructions in the Service Manual.
Spark Plug
A. Plug Gap ...
