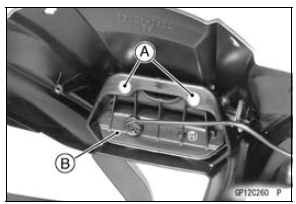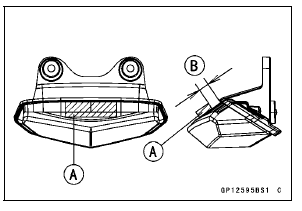


When installing the pad [A], install it as shown in the figure.
8 mm (0.3 in.) [B]

 Headlight Removal/Installation
 Tail/Brake Light (LED) Removal/Installation
Upper Fairing Assembly Disassembly
Remove:
Upper Fairing Assembly (see Upper Fairing Assembly
Removal)
Headlight (see Headlight Removal/Installation in the
Electrical System chapter)
City Light (LED) (see City Light (LED) Removal/Installation
in the Electrical System chapter)
Remove the screws [A], and separate each ...
Stick Coil Input Voltage Inspection
NOTE
Be sure the battery is fully charged.
Turn the ignition switch to OFF.
Remove the ECU (see ECU Removal in the Fuel System
(DFI) chapter).
Do not disconnect the ECU connectors.
Connect a digital meter [A] to the connector [B] with the
needle adapter set.
Special Tool - N ...
Rear Fender Front Installation
Installation is the reverse of removal. Note the following.
Run the harness, cables and leads correctly (see Cable,
Wire, and Hose Routing section in the Appendix chapter).
When installing the clamp [A] on the rear fender front [B],
install it so that the clamp positions at near the ...