

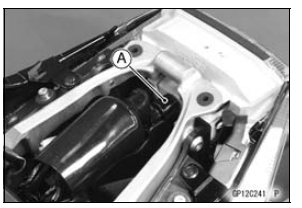
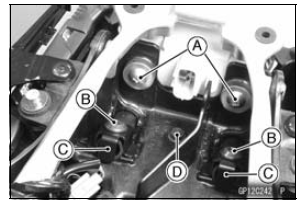
Bring down the rear fender rear [B] lightly to clear the hook [C] from the tail/brake light.
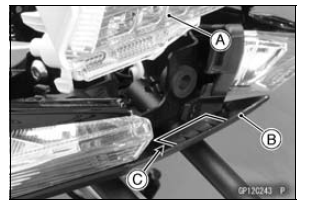
Fit the hook [A] to the tail/bake light.
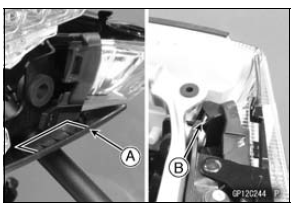
Fit the tab [B] of the tail/brake light as shown in the figure (both sides).
Tighten: Torque - Tail/Brake Light Mounting Screws: 1.2 N·m (0.12 kgf·m, 11 in·lb)
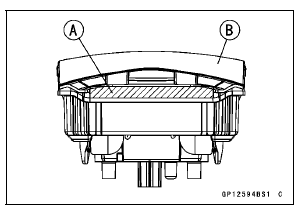
 City Light (LED) Removal/Installation
 License Plate Light Bulb Replacement
Power mode
The Power mode determines the engine
power output characteristics and
has three settings.
The S-KTRC and the Power mode
can be set separately. By combining
each setting, the rider can get various
power feelings to suit riding conditions
or individual preference.
Mode F (Full Power):
The h ...
Exploded View
10. US, CA, CAL and AU Models
11. ZX1000JD/KD
G: Apply grease.
L: Apply a non-permanent locking agent.
R: Replacement Parts
S: Follow the specified tightening sequence.
1. US, CA and CAL Models
2. ZX1000J Model
3. ZX1000K Model
4. AU Model
5. Face the large diameter side re ...
Steering Damper Oil Leak Inspection
Visually inspect the steering damper [A] for oil leakage.
If the oil leakage is found on it, replace the steering
damper with a new one (see Steering Damper Removal/
Installation in the Steering chapter).
ZX1000JD/KD [B]
...