
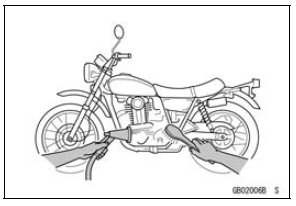
Clean the vehicle thoroughly before disassembly. Dirt or other foreign materials entering into sealed areas during vehicle disassembly can cause excessive wear and decrease performance of the vehicle.
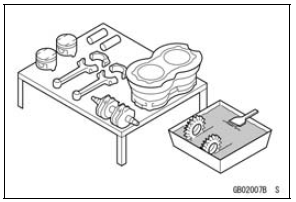
Arrangement and Cleaning of Removed Parts
Disassembled parts are easy to confuse. Arrange the parts according to the order the parts were disassembled and clean the parts in order prior to assembly.
 Battery Ground
 Storage of Removed Parts
Fuel Pump Installation
Remove dirt or dust from the fuel pump [A] by lightly applying
compressed air.
Replace the fuel pump gasket with a new one.
Check that the fuel pump terminal [A] and band [B] are in
place.
Apply a non-permanent locking agent to the threads of
the fuel pump bolts.
Tighten the ...
Camshaft Runout Inspection
Remove the camshafts (see Camshaft Removal).
Set the camshaft in a camshaft alignment jig or on V
blocks.
Measure the runout with a dial gauge at the specified
place as shown in the figure.
If the runout exceeds the service limit, replace the
camshaft.
Camshaft Runout
Standard: TIR ...
Wheel/Tire Damage Inspection
Remove any imbedded stones [A] or other foreign particles
[B] from tread.
Visually inspect the tire for cracks and cuts, and replace
the tire if necessary. Swelling or high spots indicate internal
damage, requiring tire replacement.
Visually inspect the wheel for cracks, cuts and dents ...