
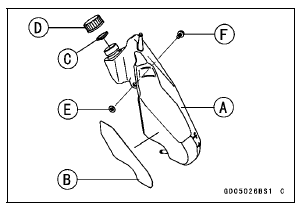
Pad [B] Gasket [C] Cap [D] Collar [E]
 Coolant Reserve Tank Removal
 Water Pump
Subthrottle Sensor Resistance Inspection
Turn the ignition switch to OFF.
Disconnect the subthrottle sensor connector.
Connect a digital meter [A] to the subthrottle sensor connector
[B].
Measure the subthrottle sensor resistance.
Subthrottle Sensor Resistance
Connections: BL lead [D] ←→ BR/BK lead [C]
Standard: ...
Throttle Body Assy Holder Installation
Be sure to install the new O-rings [A].
Using a high flash-point solvent, clean off any oil or dirt
that may be on the silicone sealant coating area. Dry
them with a clean cloth.
Apply silicone sealant to any two positions of the new O
-ring.
Sealant - Liquid Gasket, TB1211F: 92104-0 ...
Throttle Body Assy Installation
Apply a thin coat of grease to the throttle cable lower ends.
Fit the accelerator cable end [A] and the decelerator cable
end [B] into the throttle pulley.
Install the clamp [C] securely.
Install the throttle body assy holder clamp bolt heads [A]
outside as shown in the figure.
...