
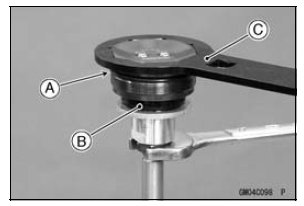
Special Tool - Top Plug Wrench (45 mm): 57001-1741

Special Tool - Top Plug Wrench (45 mm): 57001-1741
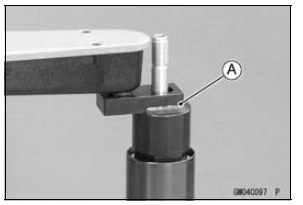
Special Tool - Rod Guide Case Wrench, 35 mm: 57001 -1758
NOTICE
A socket of piston rod guide case is shallow (4 mm) and therefore be sure to check that the wrench (Special Tool: 57001-1758) is securely seated on the piston rod guide case.
When loosening the piston rod guide case. If the wrench is not securely seated on it, the piston rod guide case may brake.
Pump the inner tube up and down at least ten times to expel the oil from the fork.
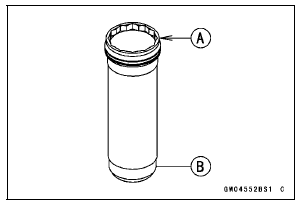
Pour the fork oil until the upper of the inner tube hole [A].
Fork Oil Recommended Oil: SHOWA SS-19: 44091-0009 Amount (Per Side): When changing oil: Approx. 420 mL (14.2 US oz.) After disassembly and completely dry (Total): 495 ±2.5 mL (16.7 ±0.085 US oz.)
NOTE
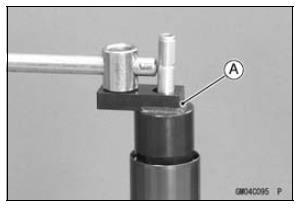
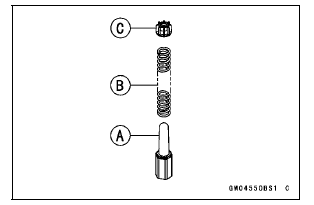
Lifting the outer tube, and insert the piston rod assy.
NOTICE
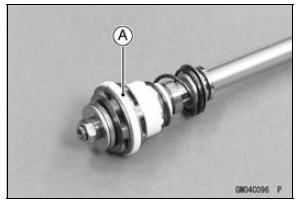
When inserting, be careful not to damage the piston ring [A].
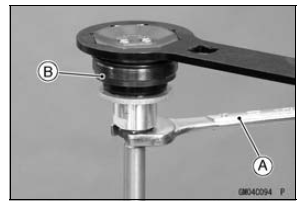
Special Tool - Rod Guide Case Wrench, 35 mm: 57001 -1758
Torque - Piston Rod Guide Case: 90 N·m(9.2 kgf·m, 66 ft·lb)
NOTE
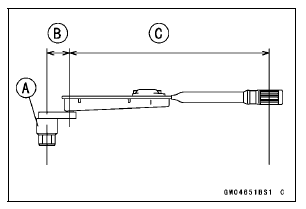
Formula: a × b ÷ (b + c) = d
[a] Specified torque
[b] Length from center of square hole to grip point
[c] Offset = 30 mm
[d] Tightening torque
For an example: 90 N·m × 450 ÷ (450 + 30) = 84 N·m
NOTICE
A socket of piston rod guide case is shallow (4 mm) and therefore be sure to check that the wrench (Special Tool: 57001-1758) is securely seated on the piston rod guide case.
When tightening the piston rod guide case. If the wrench is not securely seated on it, the piston rod guide case may brake.
Special Tool - Top Plug Wrench (45 mm): 57001-1741
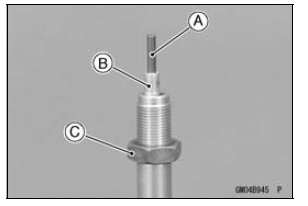
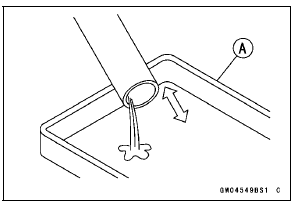
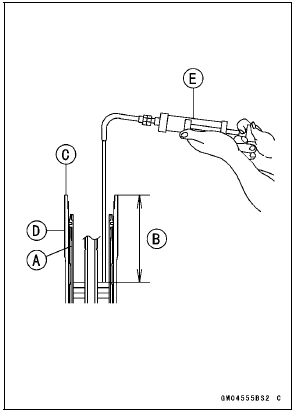
Hold the inner tube vertically in a vise.
Wait until the oil level settles.
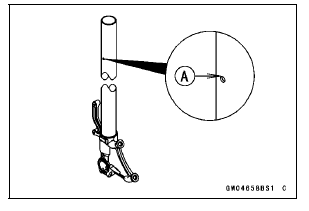
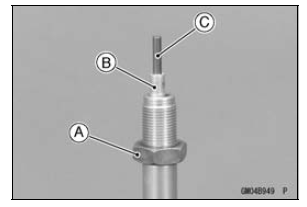
With the fork fully compressed, insert a tape measure or rod into the piston rod guide case [A], and measure the distance [B] from the top [C] of the outer tube [D] to the oil.
Fork Oil Level (fully compressed) Standard: 85 ±2 mm (3.35 ±0.08 in.)
NOTE
Special Tool - Fork Oil Level Gauge: 57001-1290
Pull the handle slowly to pump out the excess oil until the oil no longer comes out.
If no oil is pumped out, there is insufficient oil in the inner tube. Pour in enough oil, then pump out the excess oil as shown above.
Special Tool - Top Plug Wrench (45 mm): 57001-1741
NOTE
After installing the front fork, adjust the spring preload and damping force correctly.
 Front Fork Installation (Each Fork Leg)
 Front Fork Disassembly
Tire Air Pressure Inspection
Remove the air valve cap.
Measure the tire air pressure with an air pressure gauge
[A] when the tires are cold (that is, when the motorcycle
has not been ridden more than a mile during the past 3
hours).
Install the air valve cap.
Adjust the tire air pressure according to the specifi ...
Coolant Deterioration Inspection
Remove the right lower fairing (see Lower Fairing Removal
in the Frame chapter).
Visually inspect the coolant in the reserve tank [A].
If whitish cotton-like wafts are observed, aluminum parts
in the cooling system are corroded. If the coolant is
brown, iron or steel parts are rusting. I ...
Brake Line Bleeding
The brake fluid has a very low compression coefficient so
that almost all the movement of the brake lever or pedal
is transmitted directly to the caliper for braking action. Air,
however, is easily compressed. When air enters the brake
lines, brake lever or pedal movement will be partially used
...