
Torque - Fuel Pump Bolts: 9.8 N┬Ęm (1.0 kgf┬Ęm, 87 in┬Ęlb)
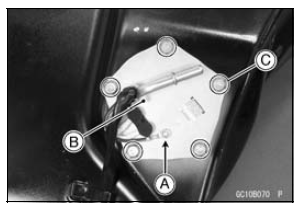
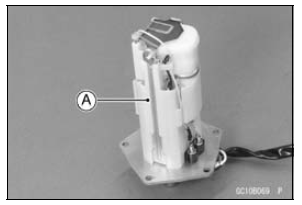
 Fuel Pump Removal
 Fuel Pump Operation Inspection
PassengerŌĆÖs Seat Removal
Remove the passengerŌĆÖs seat by inserting
the ignition key into the seat
lock, and turning it clockwise.
A. Seat Lock
B. Ignition Key
C. PassengerŌĆÖs seat
D. Pull up
NOTE
When removing the passengerŌĆÖs
seat, pull it up while turning the key. ...
Throttle Body Assy Disassembly
1. Throttle Body Assy
2. Subthrottle Valve Actuator
3. Idle Speed Control Valve Actuator
4. Main Throttle Sensor
5. Subthrottle Sensor
6. Primary Fuel Injectors
7. Delivery Pipe Assy
NOTICE
Do not remove, disassemble or adjust the main
throttle sensor, subthrottle sensor, subthrottle
v ...
Oil Pressure Relief Valve Inspection
Remove the oil pressure relief valve (see Oil Pressure
Relief Valve Removal).
Check to see if the valve [A] slides smoothly when pushing
it in with a wooden or other soft rod, and see if it comes
back to its seat by spring [B] pressure.
NOTE
Inspect the valve in its assembled stat ...