
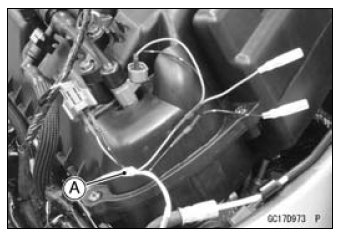
Main Harness [B] Secondary Fuel Injector #1 [C]
Special Tool - Measuring Adapter: 57001-1700
Secondary Fuel Injector Power Source Voltage Connections to Adapter:
For Secondary Fuel Injector #1, #2, #3, #4
Digital Meter (+) → R (injector W/R) lead
Digital Meter (ŌĆō) → Battery (ŌĆō) terminal

Power Source Voltage Standard: Battery Voltage for 3 seconds, and then 0 V
If the reading stays on battery voltage and never shows 0 V, check the fuel pump relay (see Relay Circuit Inspection in the Electrical System chapter).
If the fuel pump relay is normal, check the ECU for its ground and power supply (see ECU Power Supply Inspection).
If the ground and power supply are good, replace the ECU (see ECU Removal/Installation).
If there is still no battery voltage, check the fuel pump relay (see Relay Circuit Inspection in the Electrical System chapter).
If the fuel pump relay is normal, check the power source wiring (see wiring diagram in this section).
Special Tool - Hand Tester: 57001-1394
If the wiring is good, check the ECU for its ground and power supply (see ECU Power Supply Inspection).
If the ground and power supply are good, replace the ECU (see ECU Removal/Installation).
If the reading is in specification, check the output voltage (see Fuel Injector Output Voltage Inspection).
 For Primary Fuel Injectors
 Fuel Injector Output Voltage Inspection
Check 3-1: CAN Communication Line Resistance Inspection
Set the hand tester [A] to the ×1 Ω range and connect it
to the terminal [11] and [12] in the meter unit.
Special Tool - Hand Tester: 57001-1394
CAN Communication Line Resistance (at Meter Unit)
Standard: 122 126 Ω
If the tester reading is not specified, replace the meter ...
Air Switching Valve Installation
Install the air switching valve [A] with hose [B] as shown
in the figure.
Front [C]
Left Side View [D]
White Paint [E]
Air Switching Valve Operation Test
Refer to the Air Suction System Damage Inspection in the
Periodic Maintenance chapter.
Air Switching Valve Unit Test ...
Stator Coil Installation
Apply a non-permanent locking agent to the threads of
the stator coil bolts and tighten them.
Torque - Stator Coil Bolts: 12 N┬Ęm (1.2 kgf┬Ęm, 106 in┬Ęlb)
Using a high flash-point solvent, clean off any oil or dirt
that may be on the silicone sealant coating area. Dry
them with a clea ...