
NOTICE
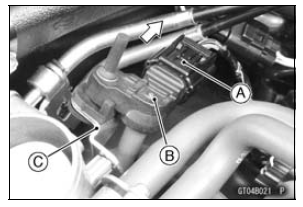
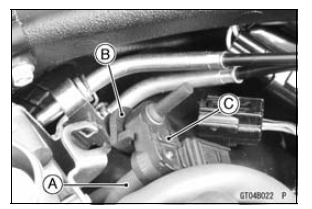
Never drop the intake air pressure sensor #2 especially on a hard surface. Such a shock to the sensor can damage it.


 Intake Air Pressure Sensor #2 Installation
Serial number locations
The engine and frame serial numbers are used to register the motorcycle.
They
are the only means of identifying your particular machine from others of the
same
model type. These serial numbers may be needed by your dealer when ordering
parts. In the event of theft, the investigating authoriti ...
Electrical Leads
A two-color lead is identified first by the primary color and
then the stripe color. Unless instructed otherwise, electrical
leads must be connected to those of the same color.
Instrument
Use a meter that has enough accuracy for an accurate
measurement. Read the manufacture’s instructions ...
Front Fork Removal (Each Fork Leg)
Loosen the front fork top plug [A] beforehand if the fork
leg is to be disassembled.
Special Tool - Top Plug Wrench (45 mm) [B]: 57001-1741
NOTE
Loosen the top plug after loosening the handlebar
clamp bolt [C] and upper front fork clamp bolt [D].
Remove:
Upper Fairing Assembly (see Up ...