
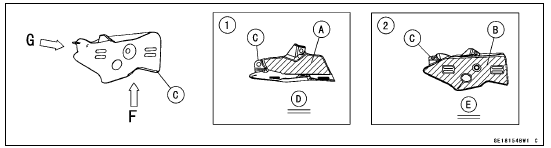
Insert the projection [D] into the slot [E].
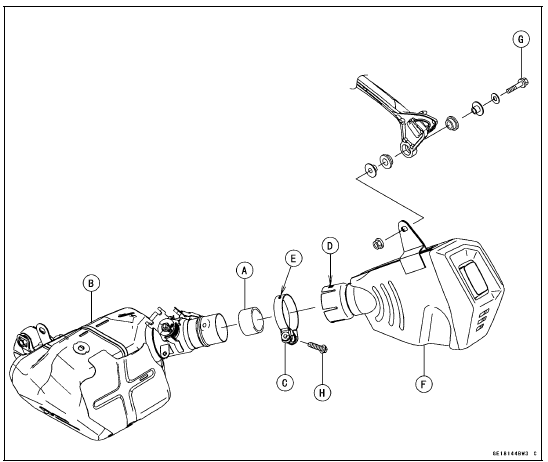
Torque - Muffler Body Mounting Bolt: 25 N·m (2.5 kgf·m, 18 ft·lb)
Install the pad [A] first. Next, install the pad [B].
Muffler Body Cover [C] View F [D] View G [E]
 Muffler Body Removal
 Premuffler Chamber Removal
Rear Caliper Removal
Remove:
Bolt [A]
Rear Wheel Rotation Sensor [B]
Loosen the banjo bolt [C] at the brake hose lower end,
and tighten it loosely.
Loosen the caliper holder pin [D].
Remove the rear wheel (see Rear Wheel Removal in the
Wheels/Tires chapter).
Unscrew the banjo bolt and remove t ...
Safe riding technique
The points given below are applicable for everyday motorcycle use and
should
be carefully observed for safe and effective vehicle operation.
For safety, eye protection and a
helmet are strongly recommended.
You should be aware of and verify
the applicable safety regulations in
force prior ...
Wiring Diagram (US, CA and CAL without KIBS Models)
ZX1000JC
ZX1000JD
...