
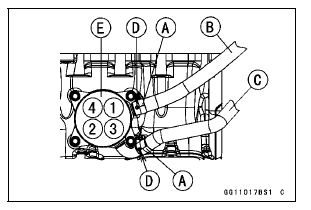
Water Hose (About 300 mm, 11.8 in.) [B] Water Hose (About 130 mm, 5.1 in.) [C] Yellow Paint [D]
Torque - Oil Cooler Mounting Bolts: 12 N·m (1.2 kgf·m, 106 in·lb)
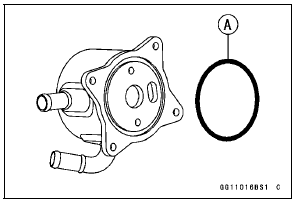
 Oil Cooler Removal
 Oil Pressure Measurement
General Lubrication
Lubricate the points shown below,
with either motor oil or regular grease,
in accordance with the Periodic Maintenance
Chart or whenever the vehicle
has been operated under wet or rainy
conditions.
Before lubricating each part, clean off
any rusty spots with rust remover and
wipe off any g ...
Fuel Tank Cleaning
WARNINGGasoline and low flash-point solvents can
be
flammable and/or explosive and cause severe
burns. Clean the tank in a well-ventilated area, and
take care that there are no sparks or flame anywhere
near the working area. Do not use gasoline
or low flash-point solvents t ...
Air Suction System Damage Inspection
Separate the air switching valve hose [A] from the lower
air cleaner housing [B] (see Air Cleaner Housing Removal
in the Fuel System (DFI) chapter).
Connect the following parts temporarily.
Fuel Pump Lead Connector [A]
Extension Tube [B]
Air Cleaner Housing (see Air Cleaner Hou ...