
 Front Seat Installation
 Rear Seat Installation
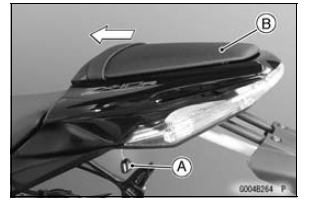
Crankshaft Sensor Peak Voltage Inspection
Refer to the Crankshaft Sensor Peak Voltage Inspection
in the Electrical System chapter.
If the reading is within the standard, remove the ECU and
check the wiring for continuity between harness connectors.
Special Tool - Hand Tester: 57001-1394
Disconnect the ECU and sensor connector ...
Connecting Rod Big End
Bearing Insert/Crankpin Wear Inspection
Remove the connecting rod big end (see Connecting Rod
Removal).
Cut strips of plastigage to crankpin width. Place a strip
on the crankpin parallel to the crankshaft installed in the
correct position.
Tighten the connecting rod big end nuts to the specified
torque (see Connecting Rod I ...
Radiator Inspection
Remove the radiator (see Radiator and Radiator Fan Removal).
Check the radiator core.
If there are obstructions to air flow, remove them.
If the corrugated fins [A] are deformed, carefully
straighten them.
If the air passages of the radiator core are blocked more
than 20% by unremovable ...