
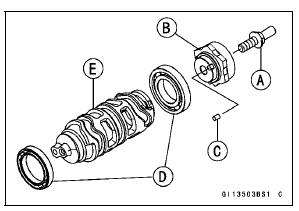
 Transmission Shaft Assembly
 Shift Drum Assembly
Break-in
The first 1 600 km (1 000 mi) that the motorcycle is ridden is designated
as the
break-in period. If the motorcycle is not used carefully during this period, you
may
very well end up with a “broken down” instead of a “broken in” motorcycle after
a
few thousand kilometers.
The fol ...
Cam Wear Inspection
Remove the camshafts (see Camshaft Removal).
Measure the height [A] of each cam with a micrometer.
If the cams are worn down past the service limit, replace
the camshaft.
Cam Height
Standard:
Exhaust 35.043 35.157 mm
(1.3796 1.3841 in.)
Intake 38.243 38.357 mm
(1.5056 1.5101 in. ...
DFI System
1. ECU
2. Battery
3. Vehicle-down Sensor
4. Exhaust Butterfly Valve Actuator
5. Vacuum Chamber (Other than US, CA and CAL Models)
6. Air Intake Valve Actuator (Other than US, CA and CAL Models)
7. Air Intake Valve (Other than US, CA and CAL Models)
8. Air Flow
9. Air Intake Solenoid Valve ...