
| WARNING Gasoline is extremely flammable and can be explosive under certain conditions, creating the potential for serious burns. Make sure the area is well-ventilated and free from any source of flame or sparks; this includes any appliance with a pilot light. Do not smoke. Turn the ignition switch OFF. Be prepared for fuel spillage; any spilled fuel must be completely wiped up immediately. |
NOTICE
Never drop the throttle body assy especially on a hard surface. Such a shock to the body assy can damage it.

NOTICE
If dirt gets into the engine, excessive engine wear and possible engine damage will occur.
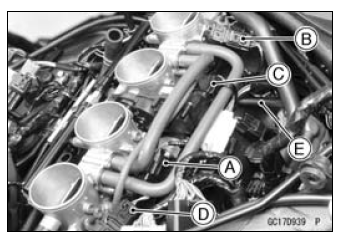
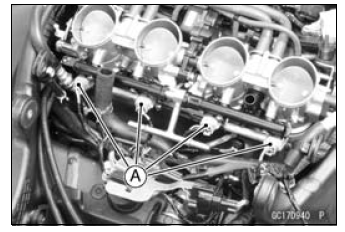
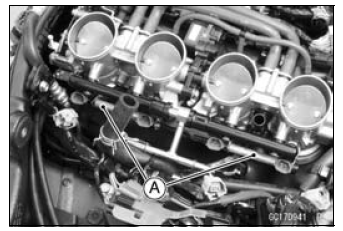
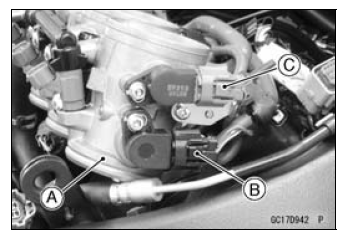
 Throttle Body Assy
 Throttle Body Assy Installation
Oil Pump Drive Gear Installation
Install is the reverse of removal. Note the following.
First, engage the oil pump chain [A] to the gears, and then
install the oil pump drive gear [B].
Turn the “OUT” mark [C] to outside.
Apply a non-permanent locking agent to the oil pump drive
chain guide bolt and the oil pump drive ...
Intake Air Temperature Sensor Resistance Inspection
Remove the intake air temperature sensor (see Intake Air
Temperature Sensor Removal).
Suspend the sensor [A] in a container of machine oil so
that the heat-sensitive portion is submerged.
Suspend a thermometer [B] with the heat-sensitive portion
[C] located in almost the same depth with ...
Inquiries to Rider
DFI Diagnosis Flow Chart
Each rider reacts to problems in different ways, so it is important to
confirm what kind of symptoms
the rider has encountered.
Try to find out exactly what problem occurred under exactly what
conditions by asking the rider;
knowing this information may h ...