
If a small bore gauge is not available, inspect the valve guide wear by measuring the valve to valve guide clearance with the wobble method as indicated below.
If the reading exceeds the service limit, replace the guide.
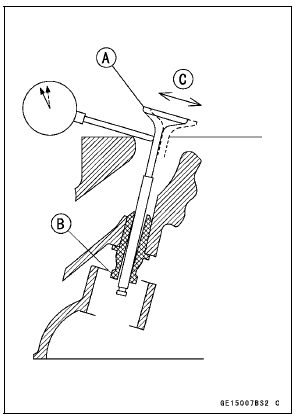
NOTE
The reading is not actual valve/valve guide clearance because the measuring point is above the guide.
Valve/Valve Guide Clearance (Wobble Method) Standard:
Exhaust 0.03  0.12 mm (0.0012
 0.0047 in.)
Intake 0.03  0.13 mm (0.0012
 0.0051 in.)
Service Limit:
Exhaust 0.34 mm (0.013 in.)
Intake 0.36 mm (0.014 in.)
 Valve Guide Installation
 Valve Seat Inspection
Catalytic Converter
This motorcycle is equipped with a
catalytic converter in the exhaust system.
The converter reacts with carbonmonoxide,
hydrocarbons and nitrogen
oxides to convert them into carbon
dioxide, water, nitrogen and oxygen resulting
in much cleaner exhaust gases
to be discharged into the atmosphe ...
Front Fork
The front fork operation and oil leakage
should be checked in accordance
with the Periodic Maintenance Chart.
For various riding or load conditions
the front fork can be adjusted for:
Spring preload
Rebound damping force
Compression damping force
WARNINGImproper fork leg adju ...
Starter Motor Disassembly
Remove the starter motor (see Starter Motor Removal).
Take off the starter motor through bolts [A] and remove
the both end covers [B].
Pull out the armature [A] out of the yoke [B].
NOTE
Do not remove the circlip [C] from the shaft.
Remove the starter motor terminal lock ...