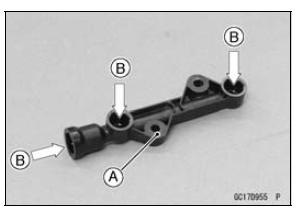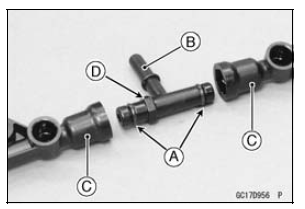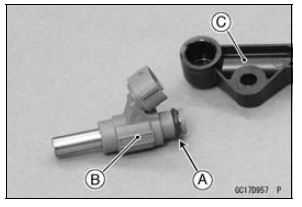


Insert the joint pipe so that the stepped side [D] faces right side.
Left and right delivery pipes are identical.


 Nozzle Assy Disassembly
 Air Cleaner
Lower Crankcase Assembly
Install the ball bearing [A] and the oil level inspection window
[B] until they are bottomed
Apply soap and water solution to the oil level inspection
window before installation.
Install the new circlip [C].
Apply a non-permanent locking agent to the oil passage
plug [D].
Tighten: ...
Washing Your Motorcycle
Rinse your bike with cold water from
a garden hose to remove any loose
dirt.
Mix a mild neutral detergent (designed
for motorcycles or automobiles)
and water in a bucket. Use
a soft cloth or sponge to wash your
motorcycle. If needed, use a mild degreaser
to remove any oil or greas ...
Warning Indicator Light (LED)
Light (LED) Inspection
The warning indicator light (LED) [A] is used for the FI indicator,
immobilizer indicator (immobilizer equipped models),
water temperature warning indicator and oil pressure
warning indicator.
In this model, the warning indicator light (LED) (FI/immobilizer)
goes ...